Research
McDonald’s Happy Table
McDonald’s is known to be favoured by many kids around the world. Kids is also a big target group McDonald’s focuses on, so this invention fits them perfectly. They already had the ‘Happy Meal’ that we’re all familiar with, but in a video I found from 2013 they show us a ‘Happy Table’. It is a playful interactive way for kids to play while at a McDonald’s restaurant. They stuck nfc tags on the bottom of a table and released an app. With this app and a phone, kids could drive a virtual car (visible on the phone’s screen) around a track on the table. The track itself isn’t visible until you use your phone to make it visible. This way kids can have even more fun while eating at their favourite restaurant!
I haven’t seen this specific ‘Happy Table’ in person, but in the Netherlands, some McDonald’s do have another interactive table. This one actually projects an interactive game on the table kids are sitting at. They can play games by using their hands, touching points on the table all while being a regular table. I could only find a video of a similar table in Spain (https://www.youtube.com/watch?v=5vAPd1eII7M) and an article from the company that distributed this version (https://www.linney.com/im-lovin-i-t/).
BEAM, a digital playground for kids
The last example of the interactive table at McDonald’s was probably made using BEAM. BEAM is a system that provides interactive games on floors, walls or tables, by using a projector and motion sensing technology. BEAM is a product by the company EyeClick and a few of their biggest clients have been: NASA, Burger King, NFL and… McDonald’s! While for my initial research for the first example I couldn’t find a link with the interactive table at McDonald’s and this company, I later found out that this is the company behind the games I saw in person at a McDonald’s in the Netherlands. In my opinion this is an awesome product and can be used on so many places to entertain, educate and engage children in an active and interactive way.
Tracking fingers with the Wii Remote
You might have seen this video, since it has over 3 million views, but in case you haven’t, in this video, a guy named Johnny Lee shows us how he used his Wii remote, an IR led array and some reflective tape to create a finger tracking system. This video was published in 2007 so it’s quite old, but the technique he uses to track the tips of his fingers is still quite clever. He explains that inside a Wii remote there is a tiny infrared camera that is used to track where you point it at. By shining infrared light at himself while the Wii remote is pointed in the same direction, he can reflect this light back to the remote by using pieces of reflective tape on the tips of his fingers. This way he can control anything on his PC by moving his fingers through the air, kind of like they did in the movie ‘minority report’.
The funny part is, is that this guy shows up at a TED talk telling the world about the possibility of a Wii remote. This TED talk is definitely worth checking out and inspired me a lot for this challenge (https://www.youtube.com/watch?v=QgKCrGvShZs) .
TINKERING
DEMO I
For my first demo, I was really eager to explore the Wii remote options, and decided to recreate another Wii remote project by Johnny Lee (johnnylee.net) who I found while doing research. In this demo I will create a head tracker using the Wii remote and sensor bar. I thought this wouldn’t be too difficult, but in the end the program Johnny Lee wrote was written on Windows XP and wasn’t working on my Windows 10 computers.
So I decided to take another route, still using the Wii remote. Instead I wanted to use the Wii remote as a mouse input so that I can later easily map it in Processing. In order to do this I followed a tutorial and used GlovePie and code written for GlovePie to turn the Wii signal (which connects over bluetooth) from the internal motion sensors into mouse movement. This works while holding the B button on the Wii remote and moving the remote. The A button can be used as a mouse click.
For the demo I created a simple code in Processing that would allow the user to use the PC as a whiteboard and draw on it using the Wii remote.
DEMO II
For my second demo I wanted to make something for my kitten. He loves to play all the time but I don’t have time to play with him all the time. I also figured that playful interactions don’t necessarily need to be for humans only, also cats can have playful interactions!
The code is quite simple, yet effective. Every time my loop loops a random number between 0 and 160 is generated and then inputted into the servo, which will then make the cat toy on a stick turn around. I also needed to make a base for the servo since I wanted it a bit up from the ground. I used cardboard and duct tape to do this.
DEMO III
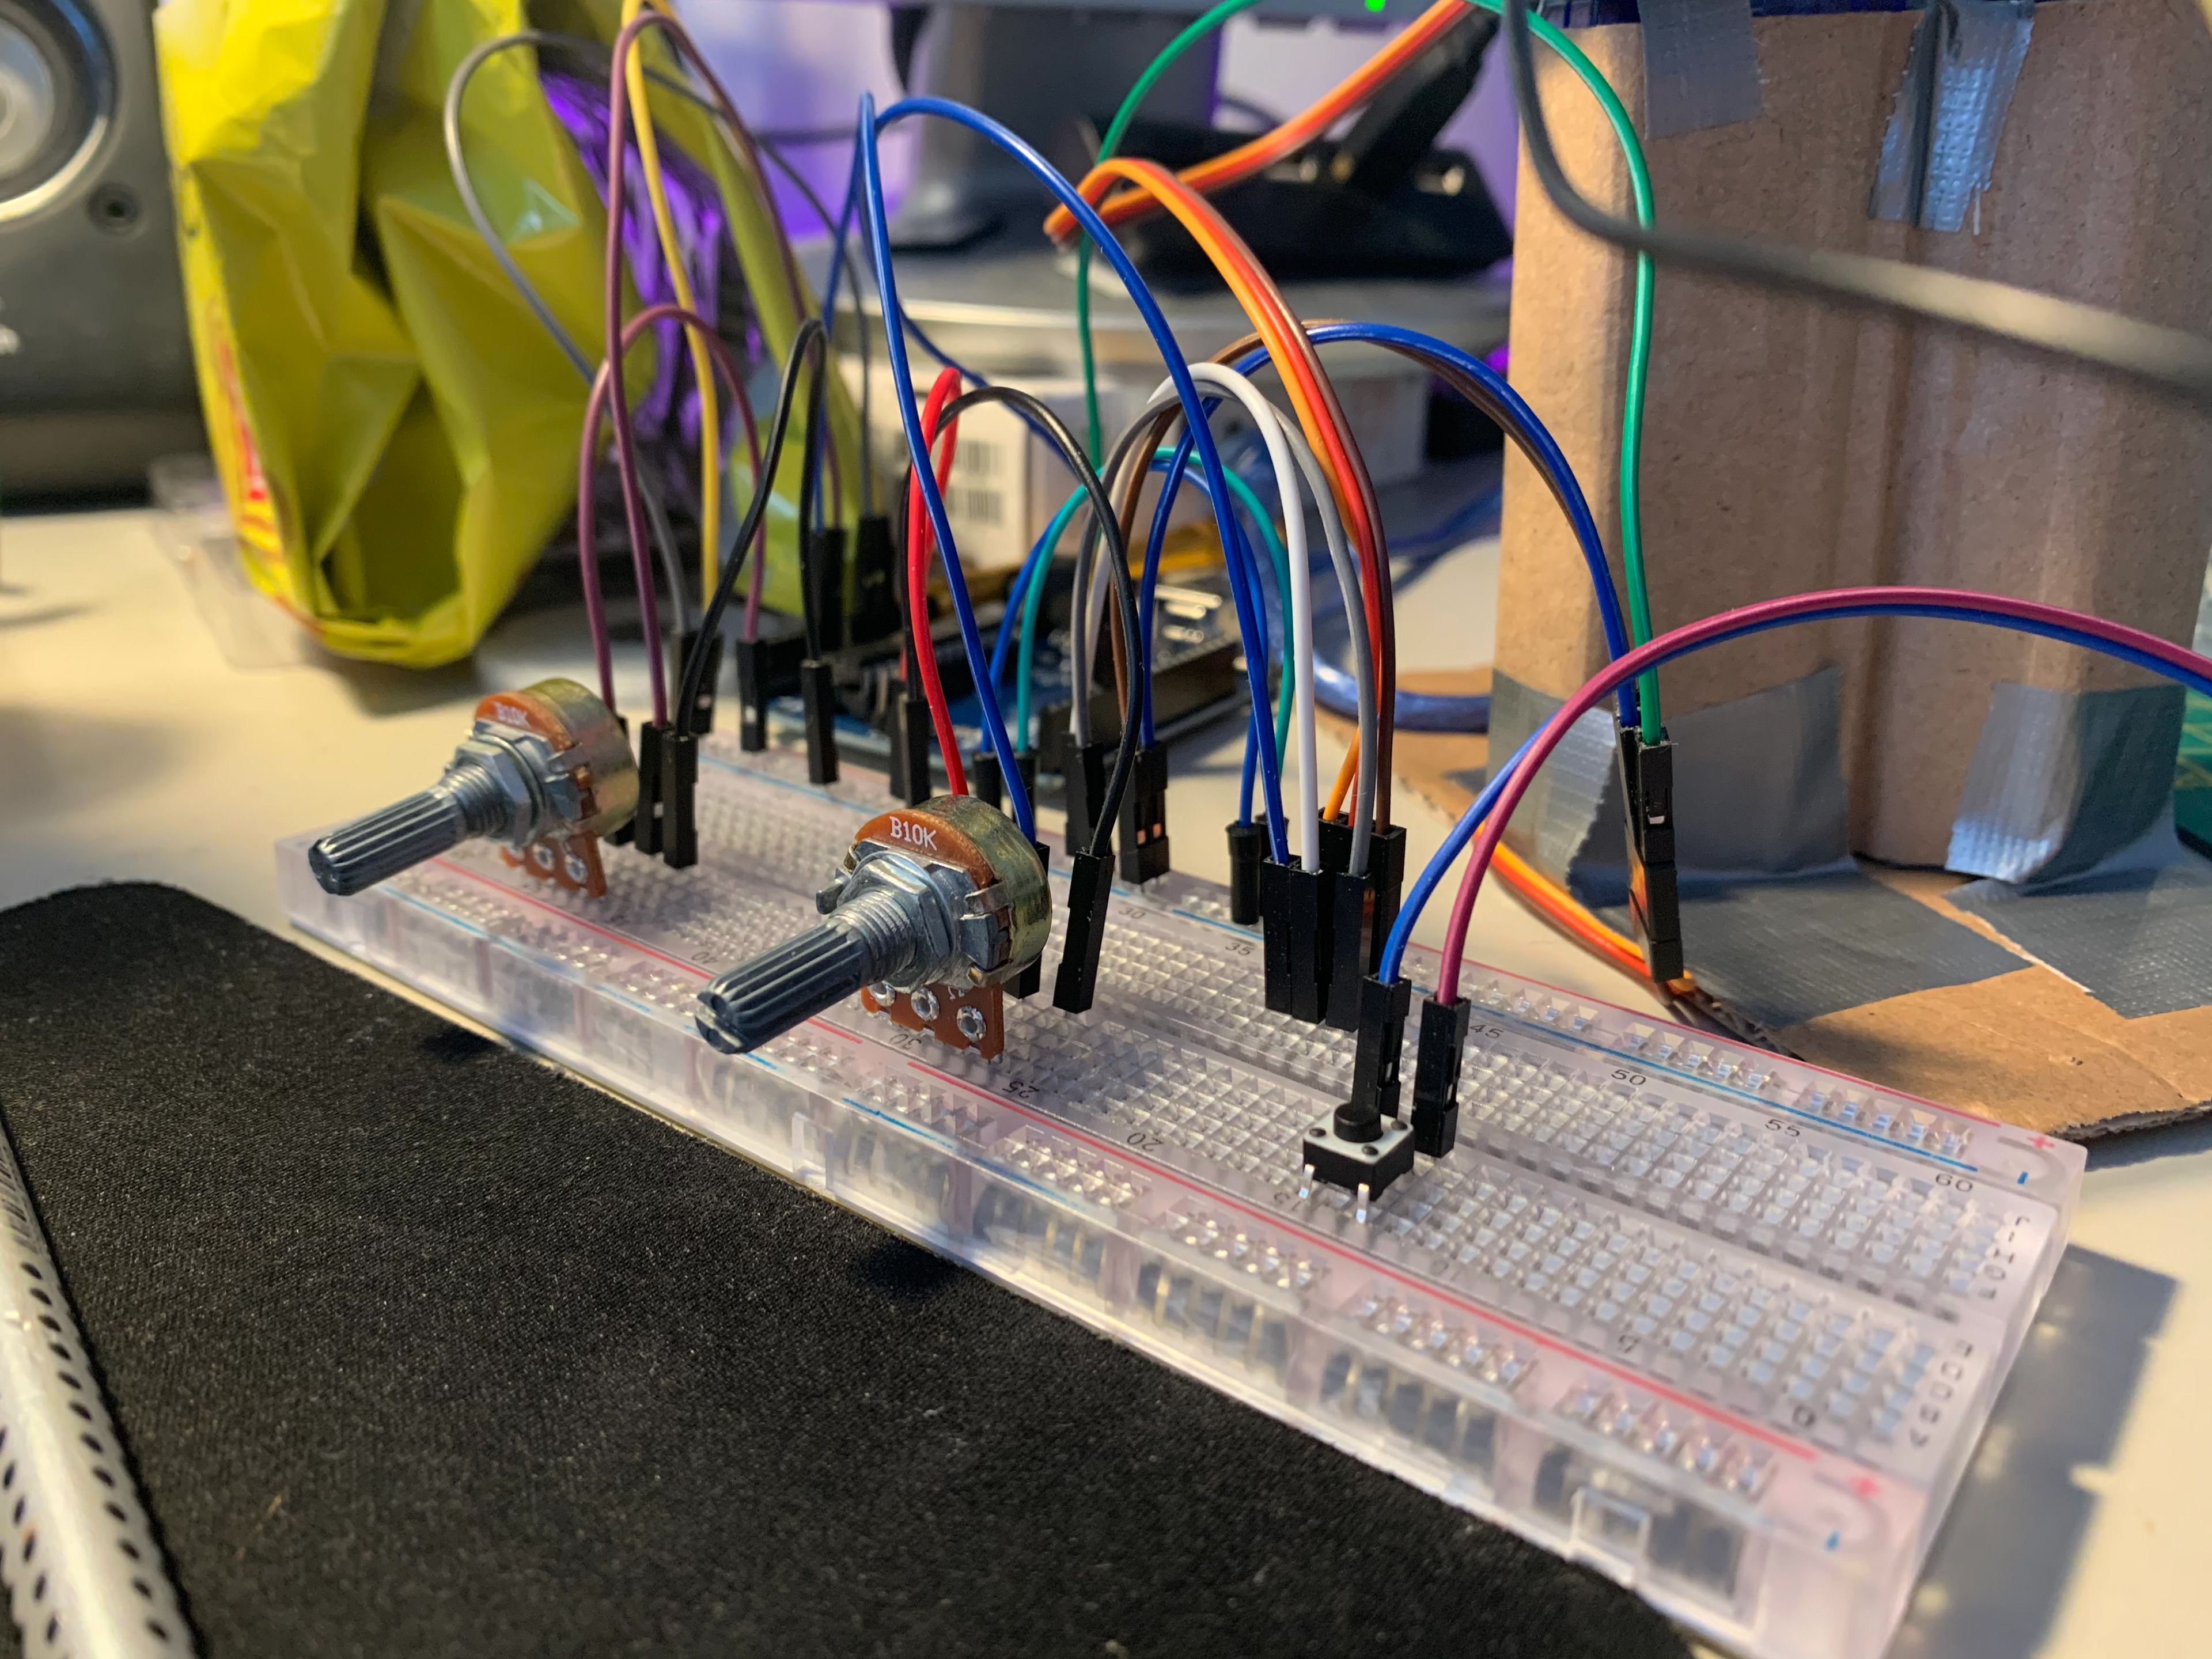
For my third demo, I wanted to create a servo that can move on 2 axes. To do this, I had to attach one servo motor to the other. To test this I added two potentiometers; one for the x axes and one for the y axes.
Now I have full control and can make something go up and down, and right to left. I needed this for my idea for the final creation of this challenge, so I thought I might as well tinker with it beforehand since I wasn’t sure if this would actually work… But using the cardboard structure from the last demo and some duct tape I managed to do it!
The code I wrote is not that difficult. All it does is read both the potentiometers values, then maps those values to the servo scale and then move the servos.
DESIGN AND BUILD
For my final design, I wanted to use the dual servo setup that I created earlier. My idea was to attach a laser to it so I would have full control over where the laser is pointing. Along with this I wanted to create a target that could be shot and would retract (as if it was shot) when the laser hits it.
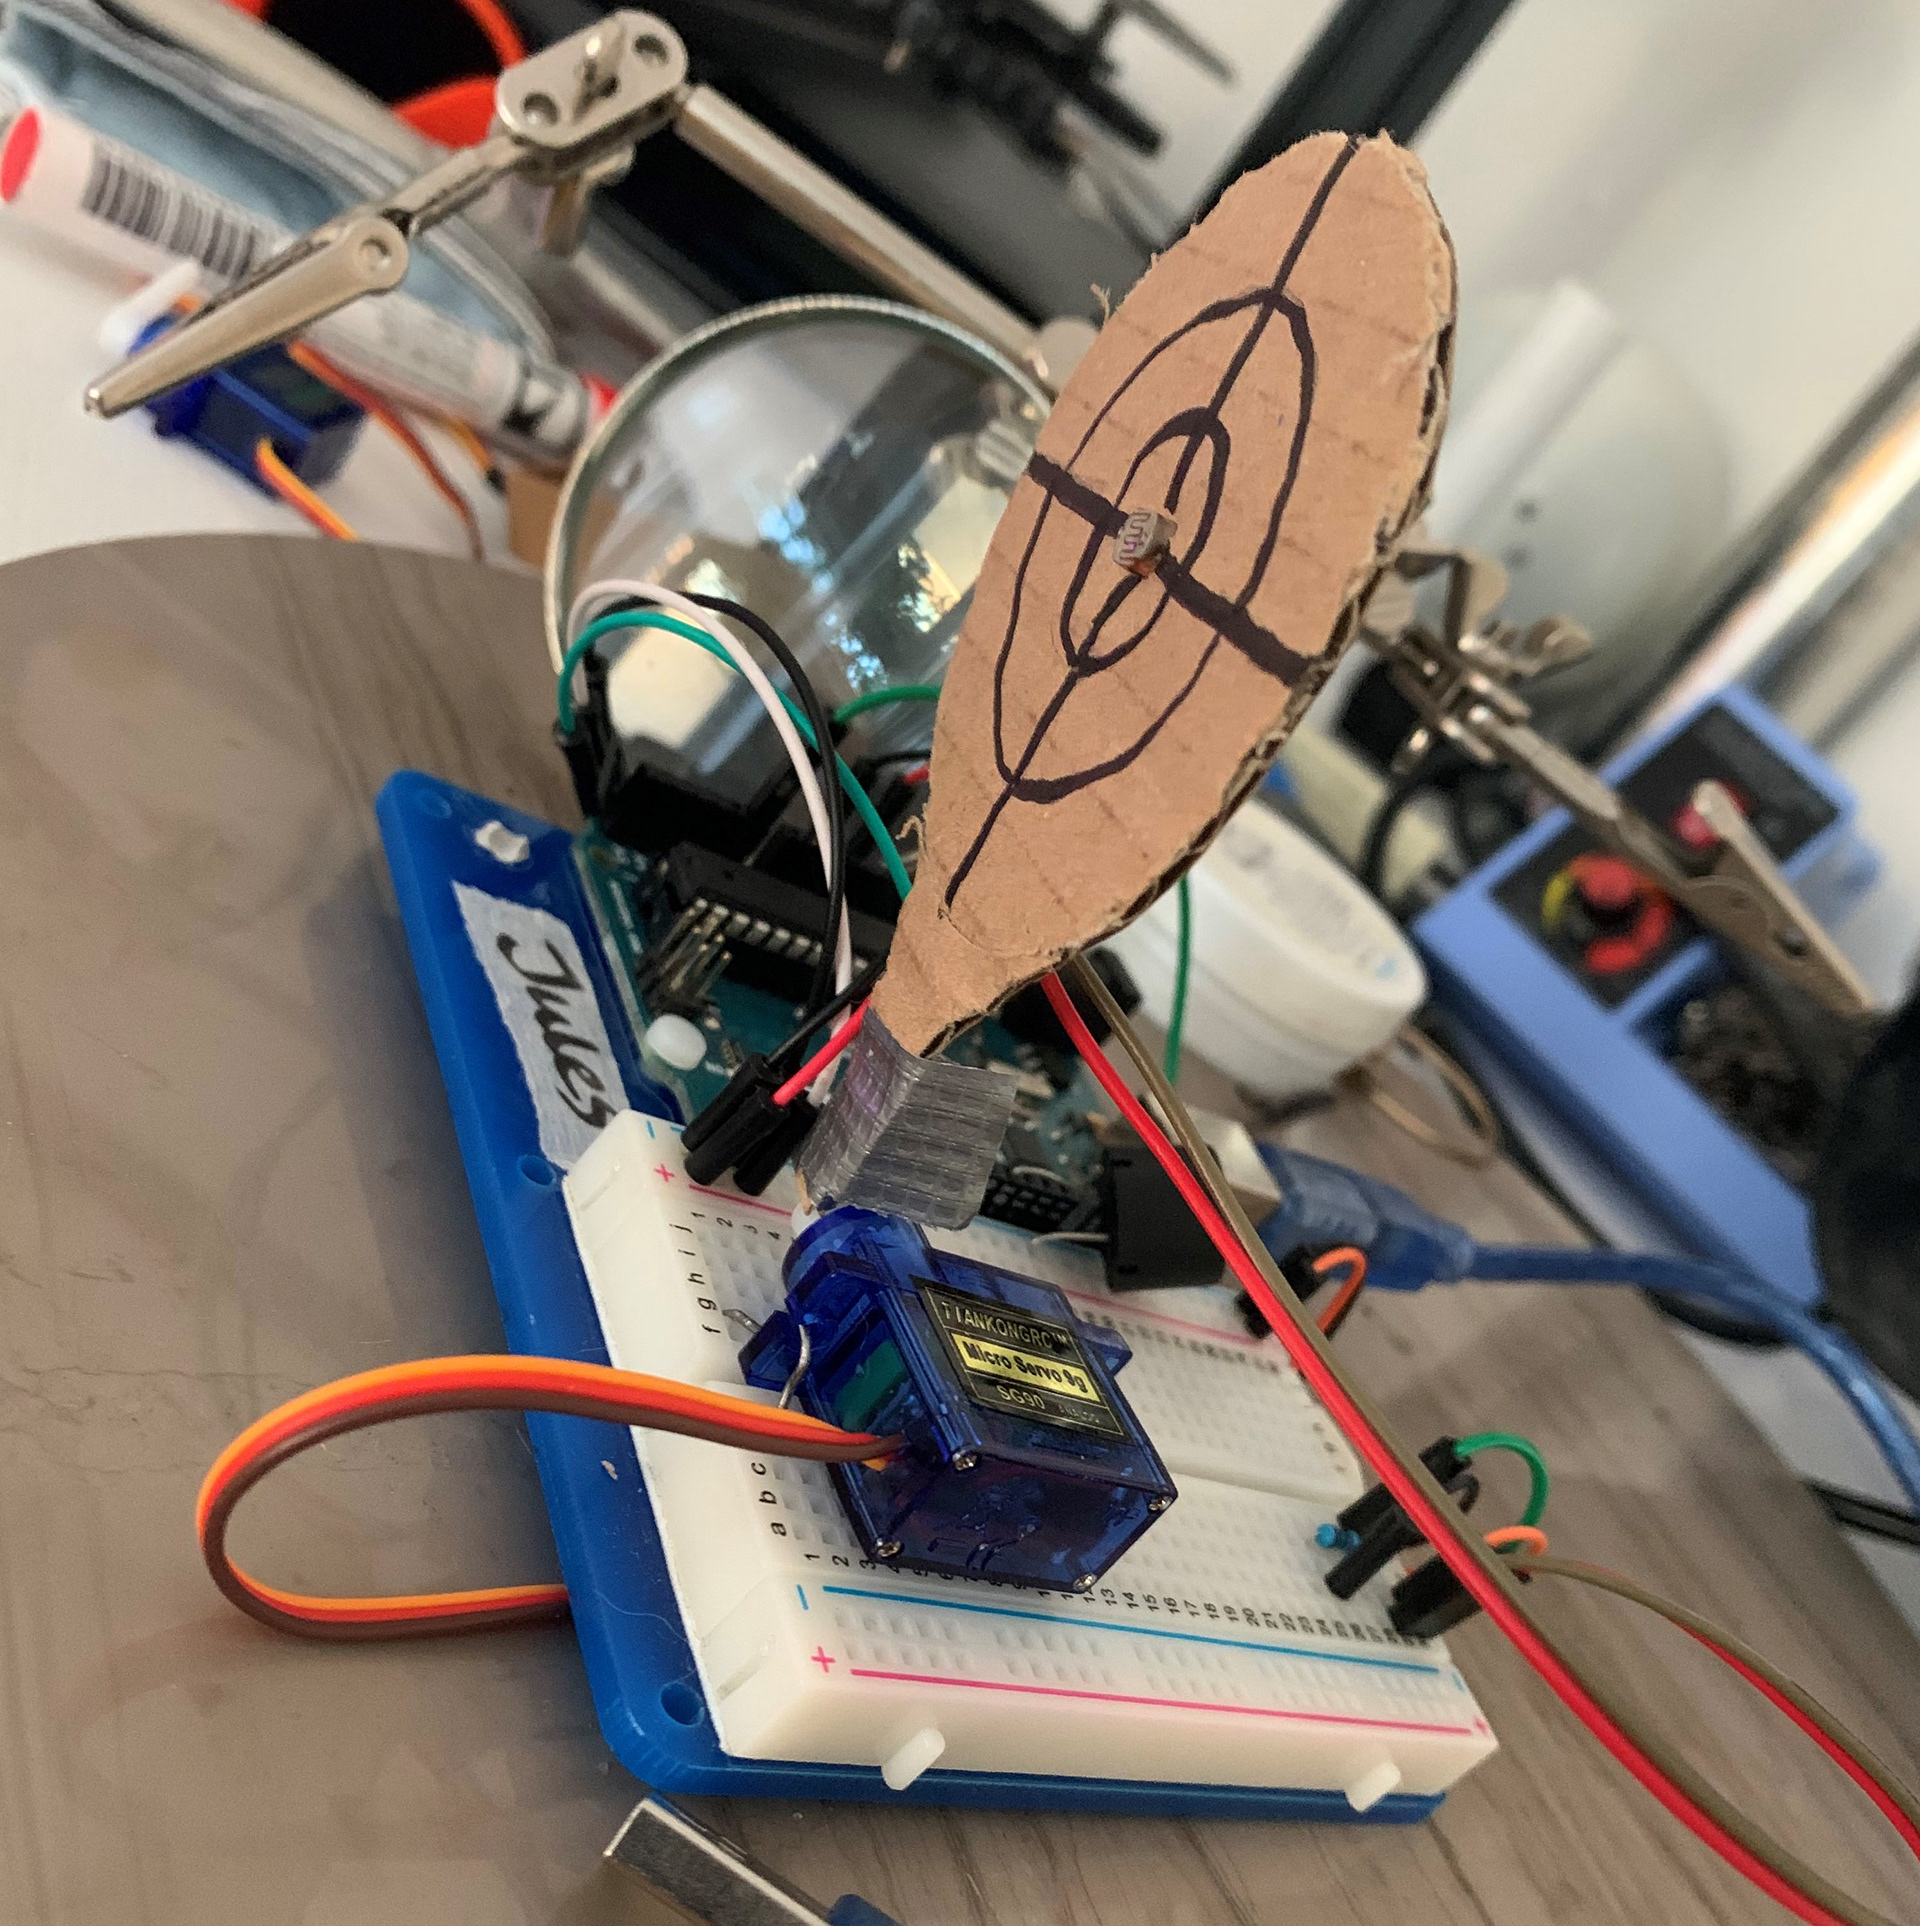
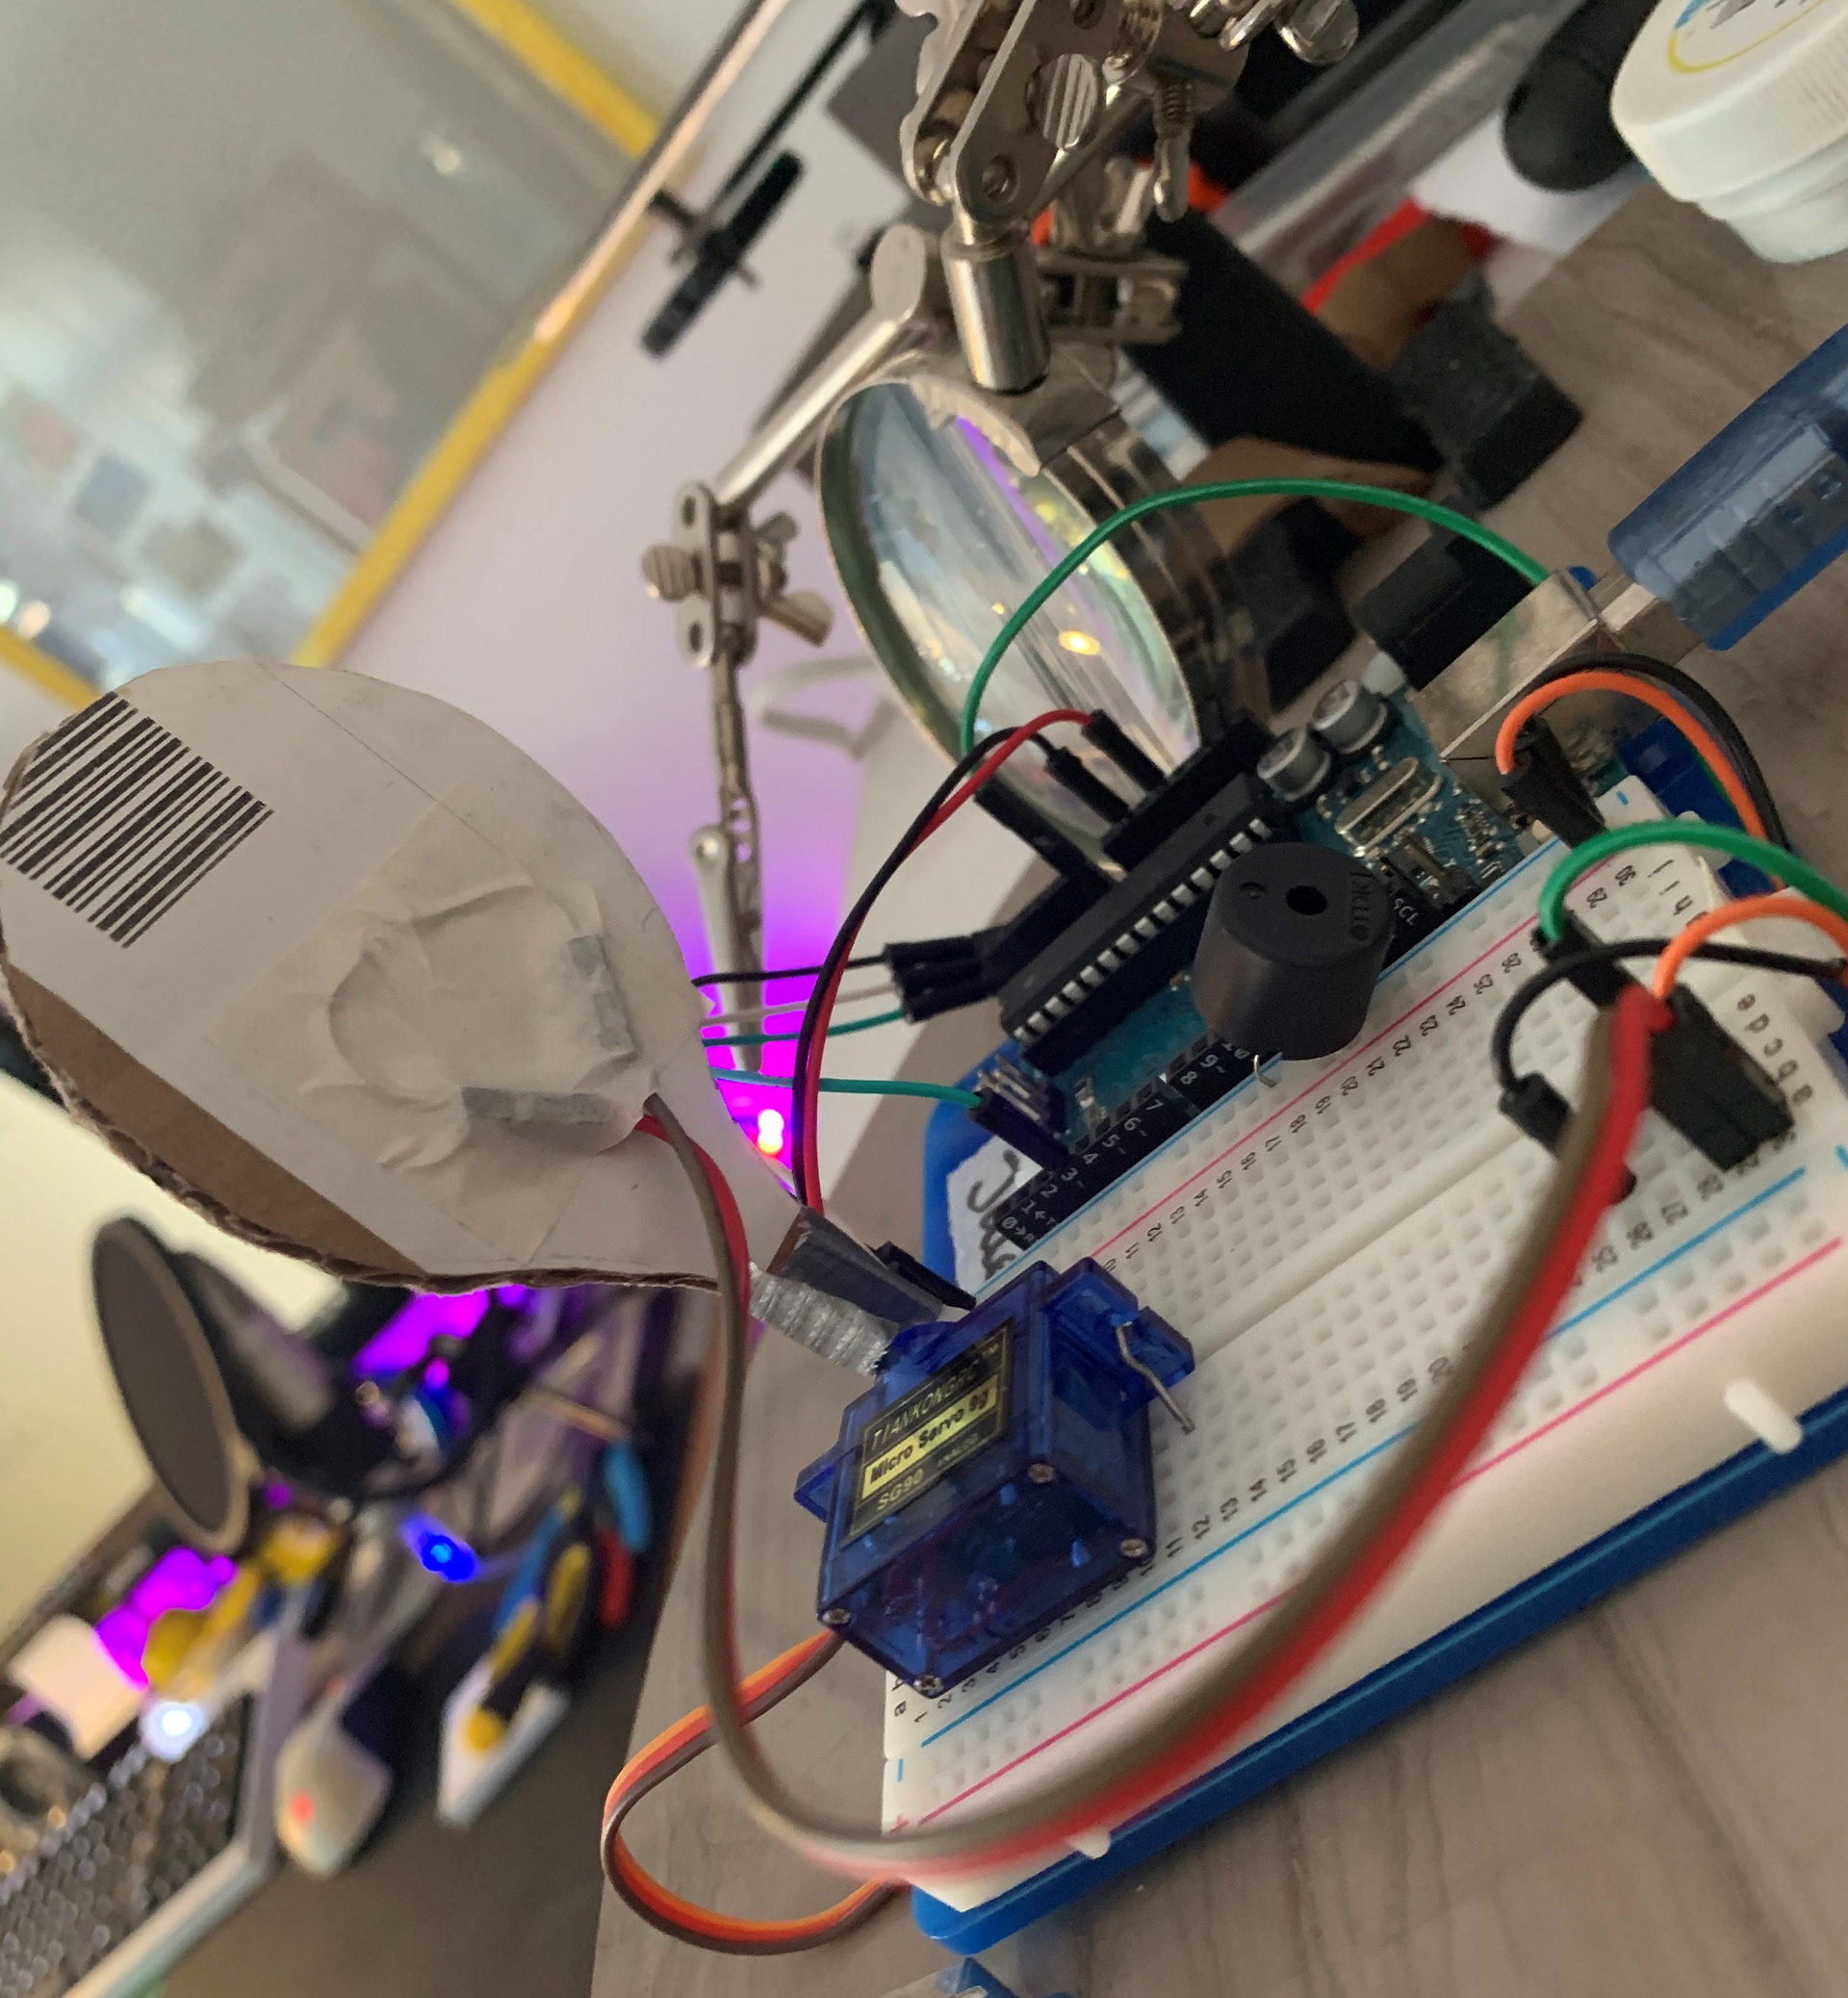
I started off by creating the target. For this I used an Arduino that I had laying around. I then attached a servo to the breadboard using some metal wire and a piezo speaker to indicate when the target is hit. To recognize when the target is hit, I put a light sensor in the middle of a cardboard target that I made. The room lighting doesn’t matter, since a laser is highly concentrated light and would thus give me a very high value from this sensor. With this principle in mind I attached my target to the servo and tested it out. Before I could test it however, I needed to write down what value the servo should receive when in the upright position and downwards position. To do this I created a simple code so I can control the servo using a potentiometer and check the value on the serial monitor. After I completed the build it was time to write the code, which was fairly straight forward: when the light sensor registers a high value (higher than 970 in this case), the servo goes to it’s down position and a short melody is played. After a few seconds the target resets back to it’s up position.
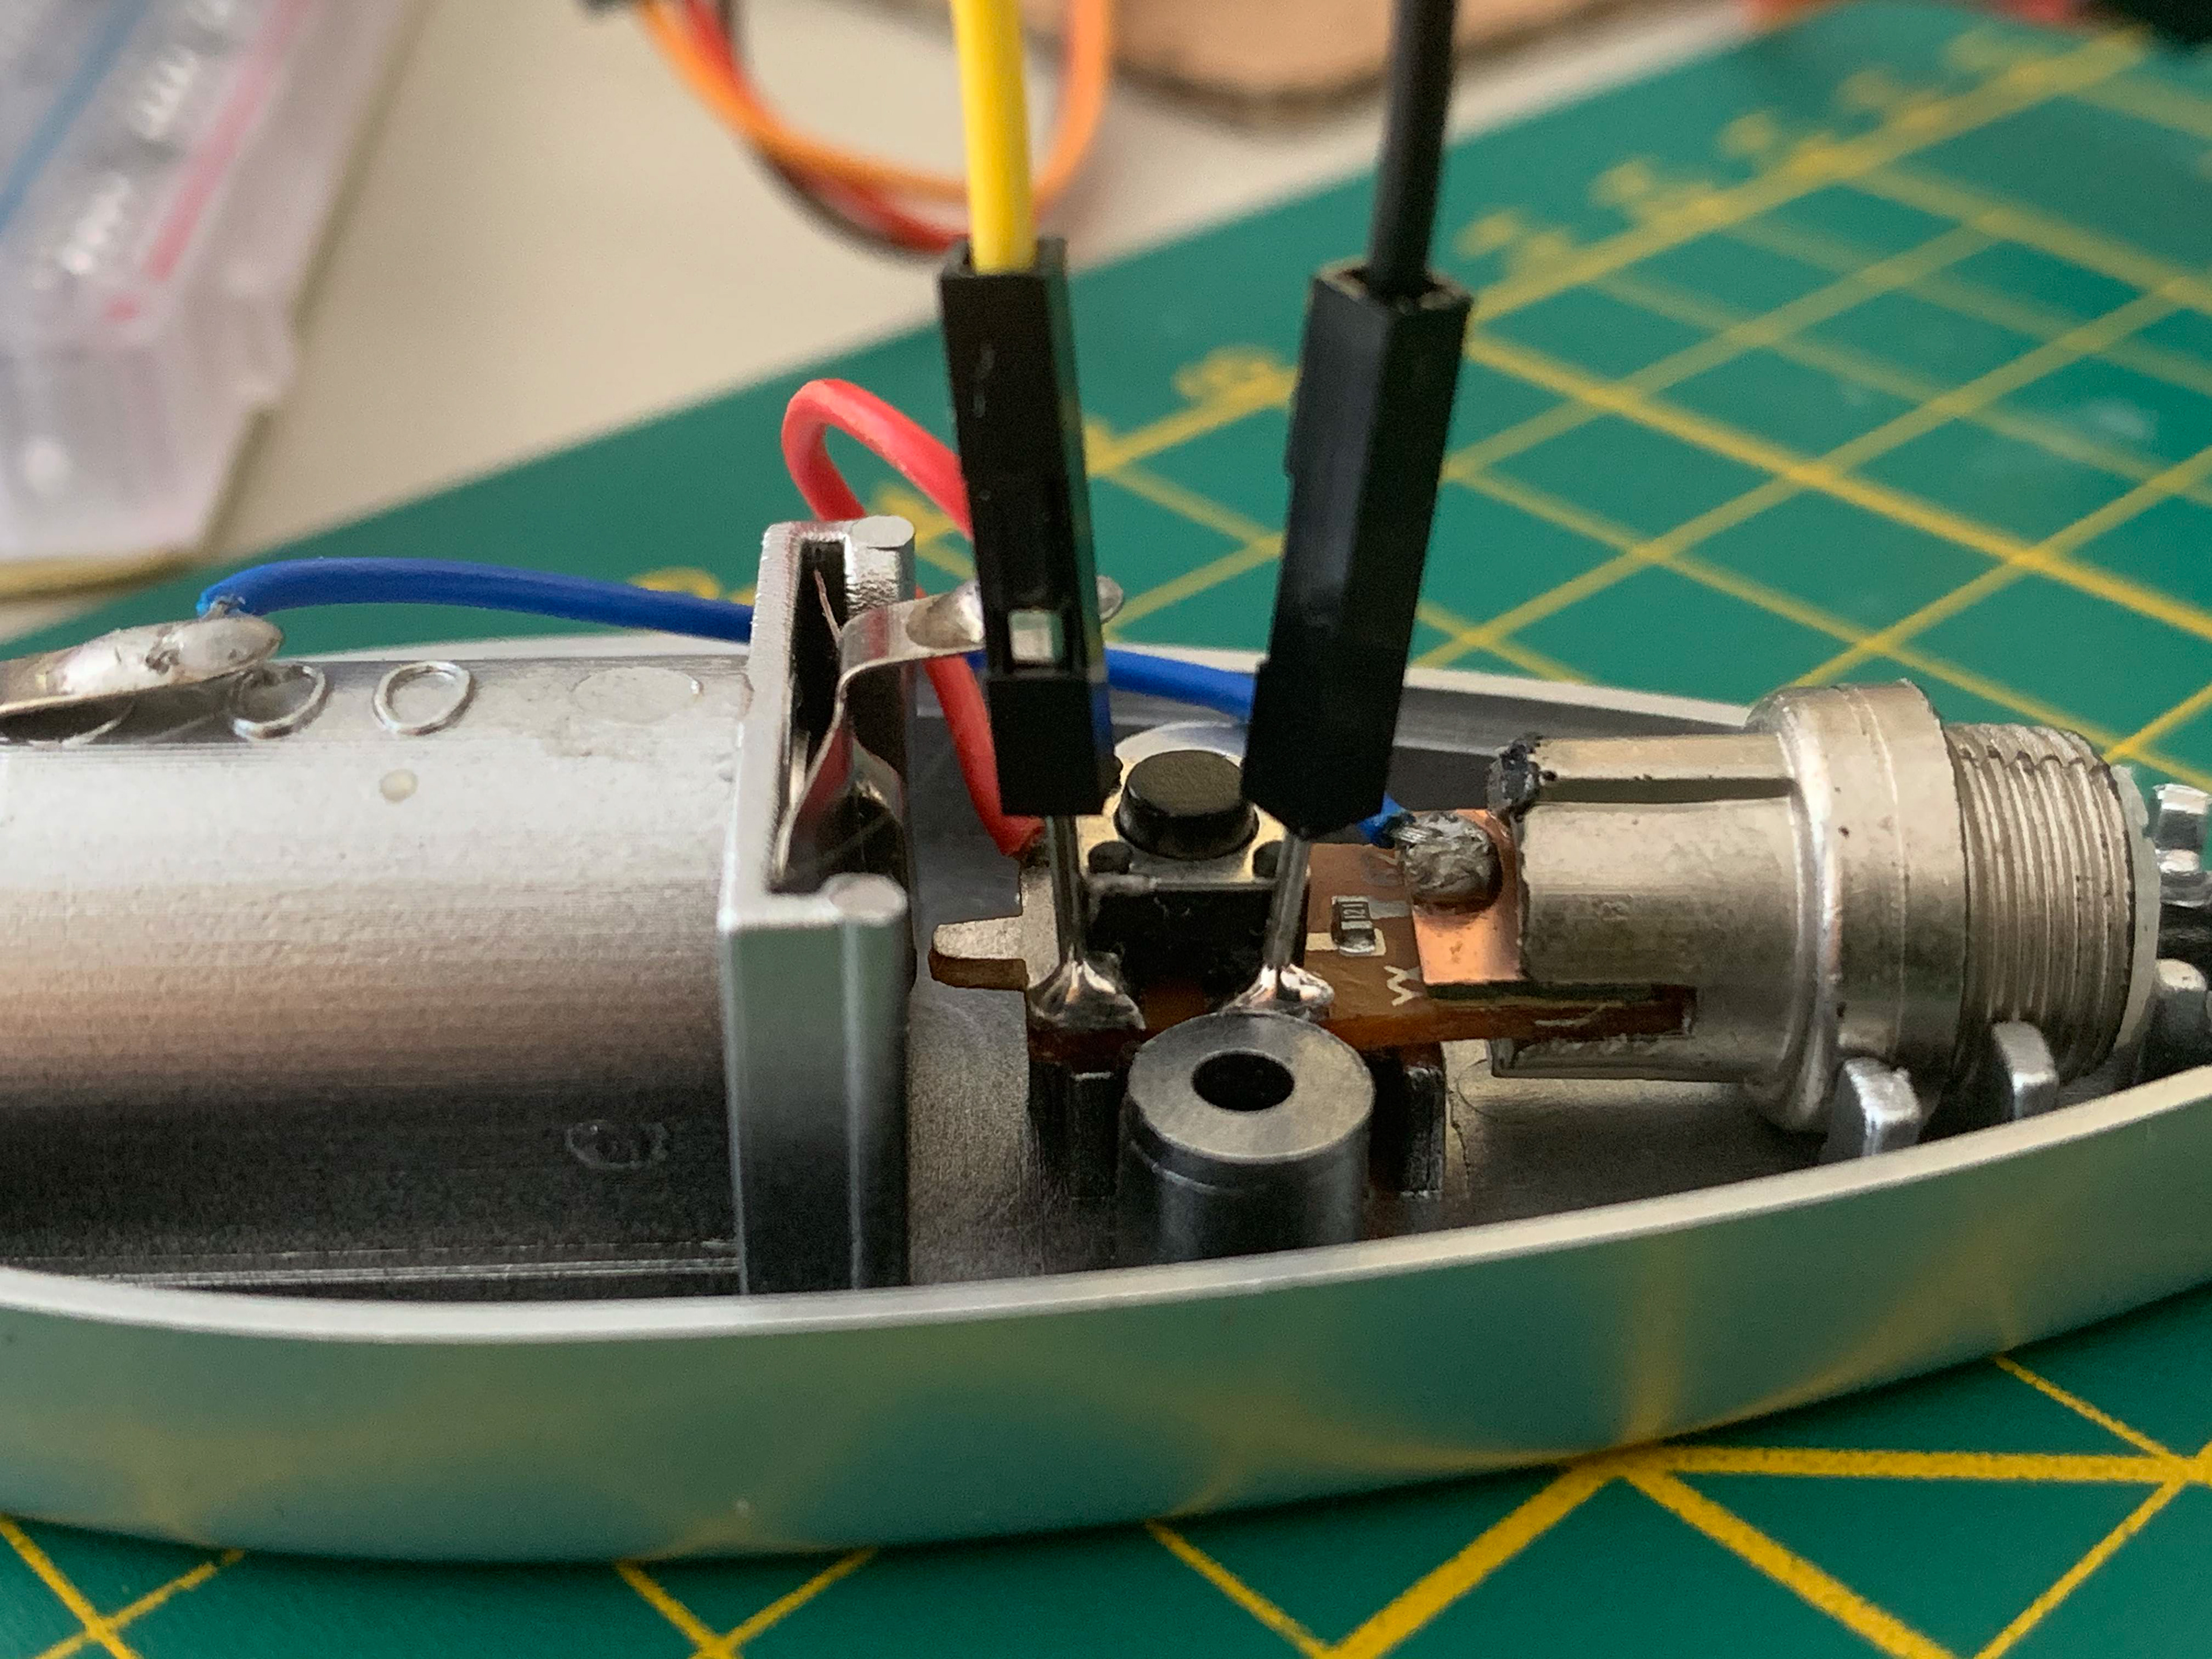
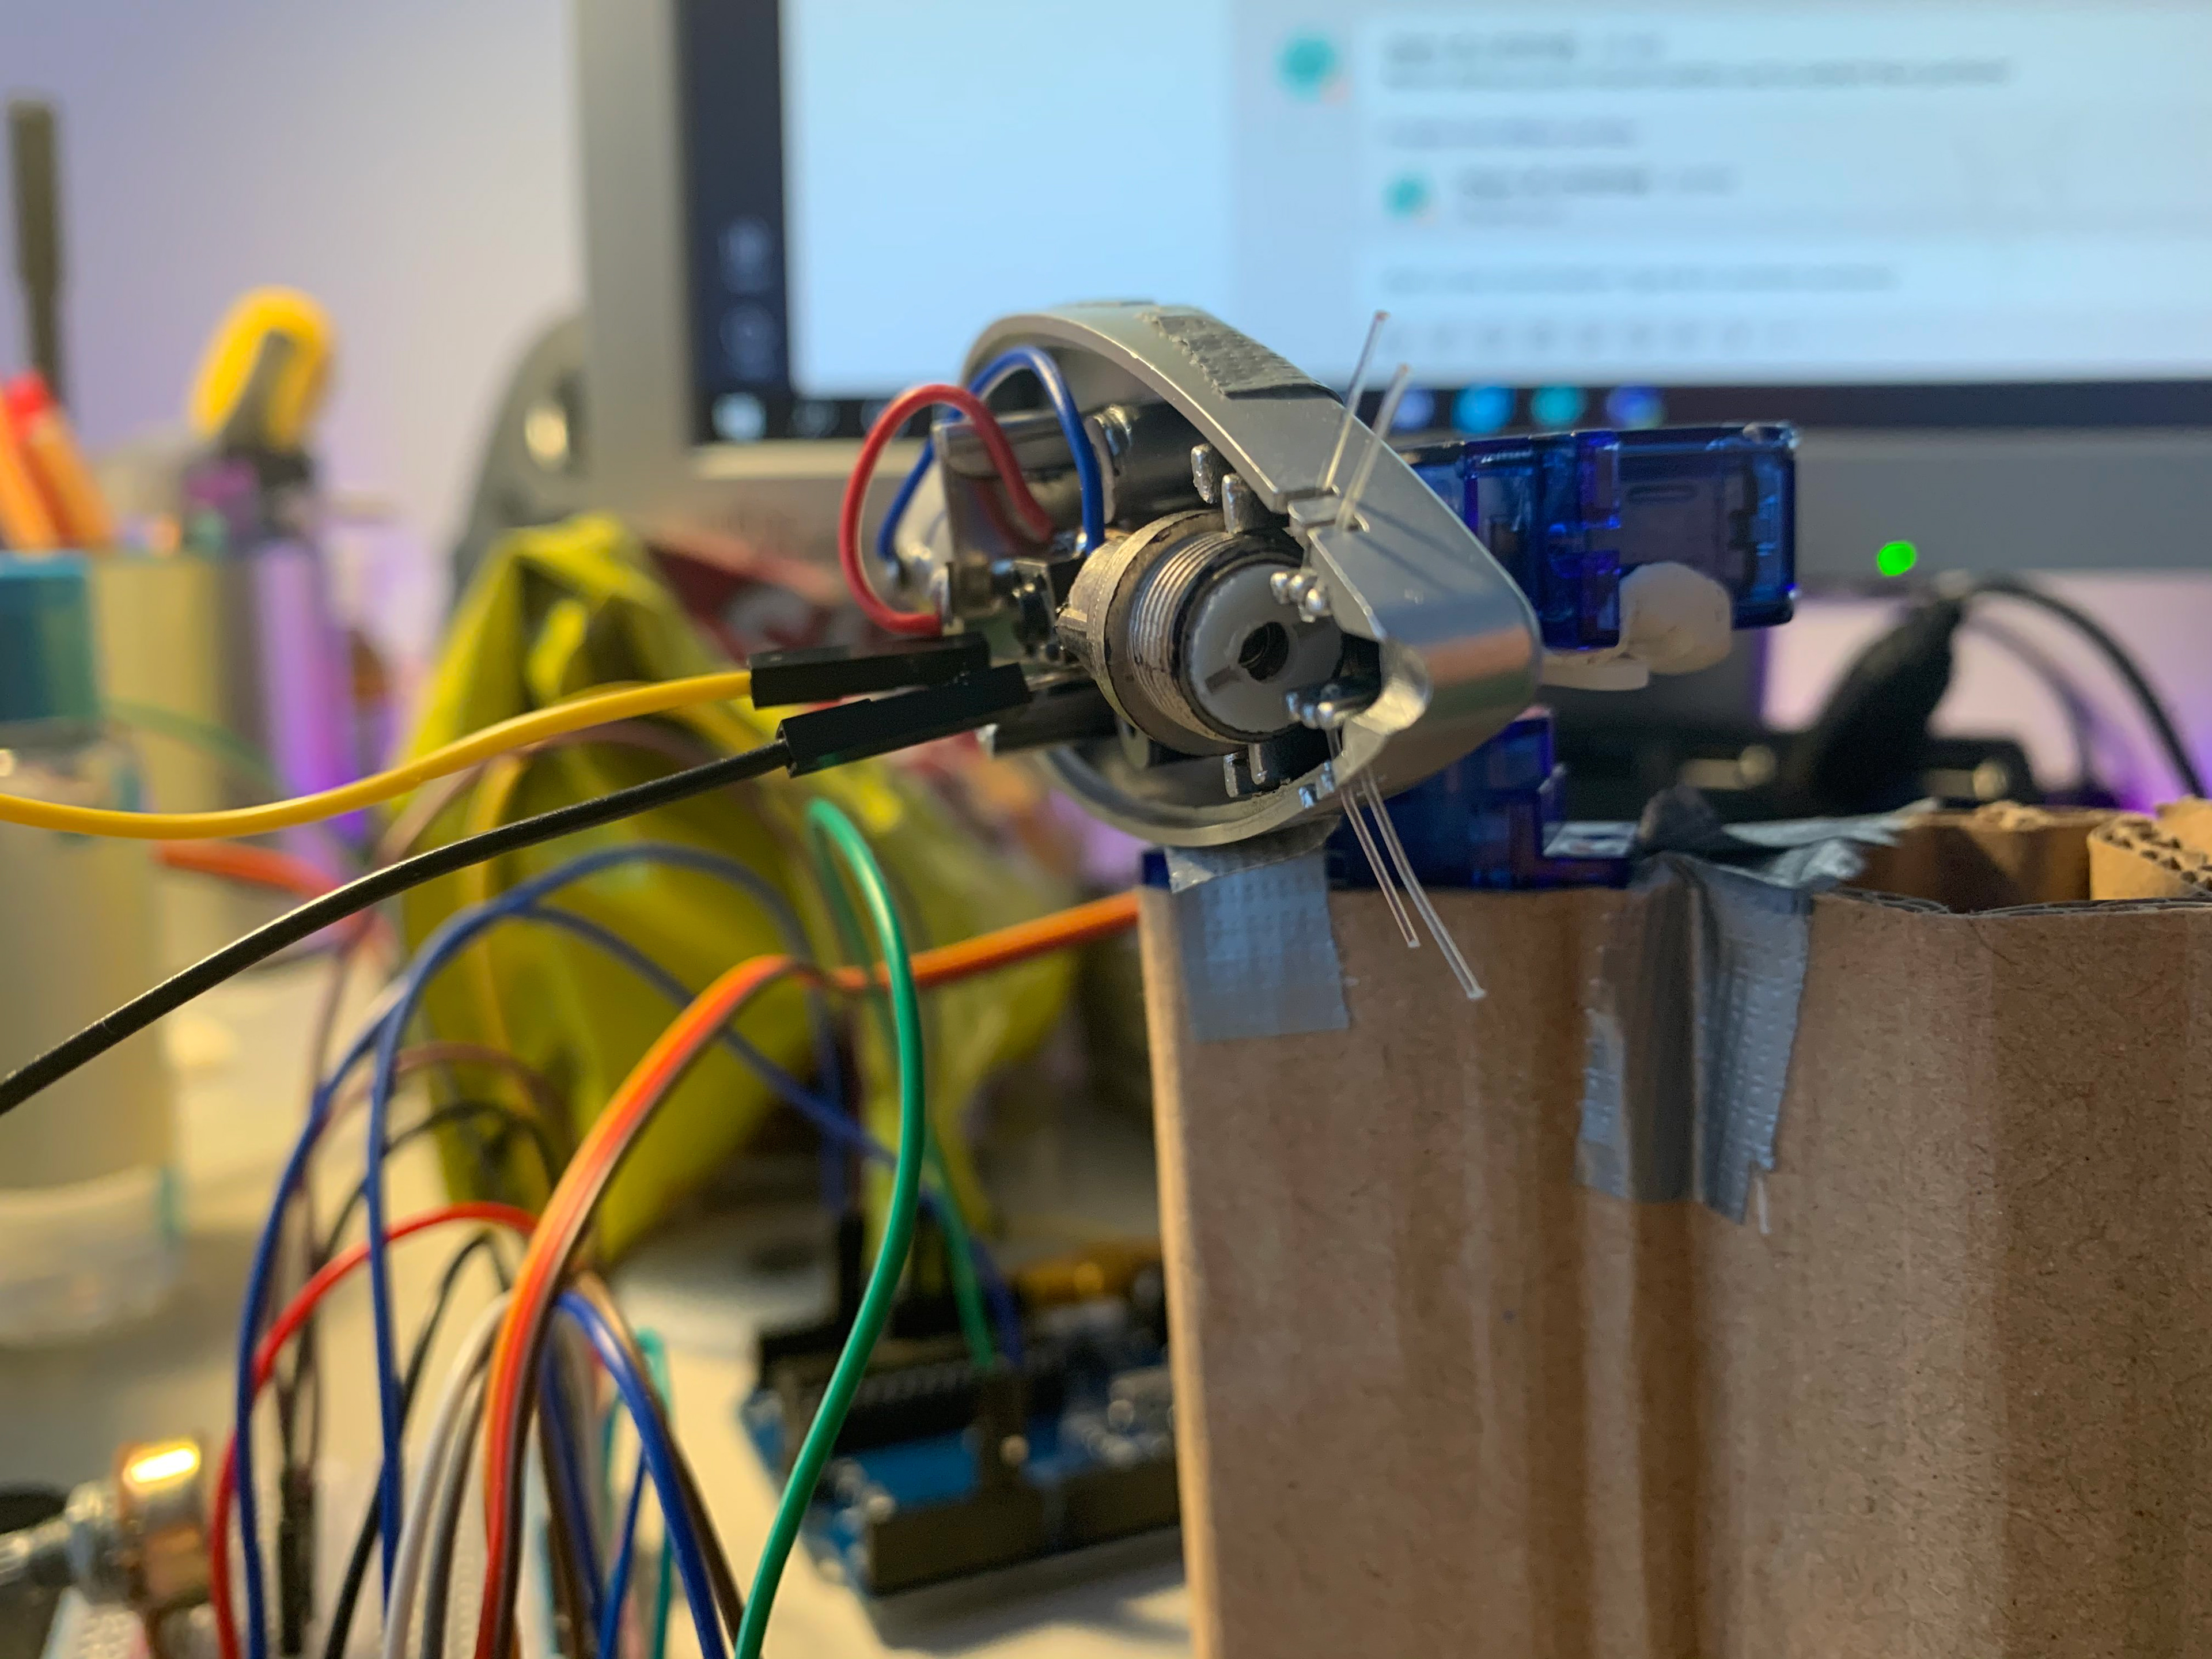
The laser sentry gun was not as simple as putting a laser on the dual servo demo. I wanted to be able to turn it on and off from my breadboard instead of the built-in button on the laser. I managed to do this by soldering two wires to either side of the built-in button, then plugging those wires into my breadboard and hooking them up to a button. I first wanted to use a relay for this, but later I realized that just a button was the best solution. Now, when the button on the breadboard is pressed the circuit closes and the laser turns on!
SHOWCASE
REFLECTION
Playful Interaction in general and my vision of the future
I still think playful interaction is a very broad concept that can be interpreted in many many ways. Anything that is interactive and playful can fit in this category. The part of this that I see a lot of future in, is the ‘fun theory’, which makes unwanted or boring behavior more fun and engaging. The theory implies that people are more likely to perform an action (or not perform it) when fun is involved. Gamification is something that also comes up here, which is basically the same. I think in the future we’re going to see more and more designs incorporating these two concepts.
My final concept & technology
My final concept didn’t completely turn out the way I wanted it to be. My initial idea was to control the laser pointer using a Wii remote. I spent a lot of time researching how I could do this and I figured out a way to control my computer's mouse using the Wii remote. After that I thought I would just use processing to map the mouse coordinates to the servo range and then send it over serial to Arduino. The problem was that I needed to send multiple values over serial. I figured out a way to do this (thanks to Chris) by using math. In theory this all sounded like it would work, but after spending several hours on trying to make it work, I eventually gave up this way of controlling my servos, since I realized I was starting to spend more time on this challenge then the 12 hours that were indicated for the build phase. That's why in the end I decided to use potentiometers and a button, which are traditional input devices, but in my opinion I also used non-traditional input devices on the target itself (laser+light sensor) so in a way it was fine with me.